Setup Wizard
Overview
The Setup Wizard is used for configuring basic console settings such as network configuration and date and time, as well as initial console setup and warranty activation. For abbreviated instructions on first time setup, consult the Quick-Start guide provided with your console, also available at http://app.everbriteconnect.com
Accessing the Setup Wizard
IMPORTANT
The Setup Wizard will appear automatically on new consoles to allow for first-time setup. First-time setup should only be performed at the final install location.
To access the setup wizard on an existing console, press the  button from any screen, followed by
  .
.
The Setup Wizard
The initial setup wizard screen varies based on whether the console has already been set up.
New Console Setup / Existing Console Setup:
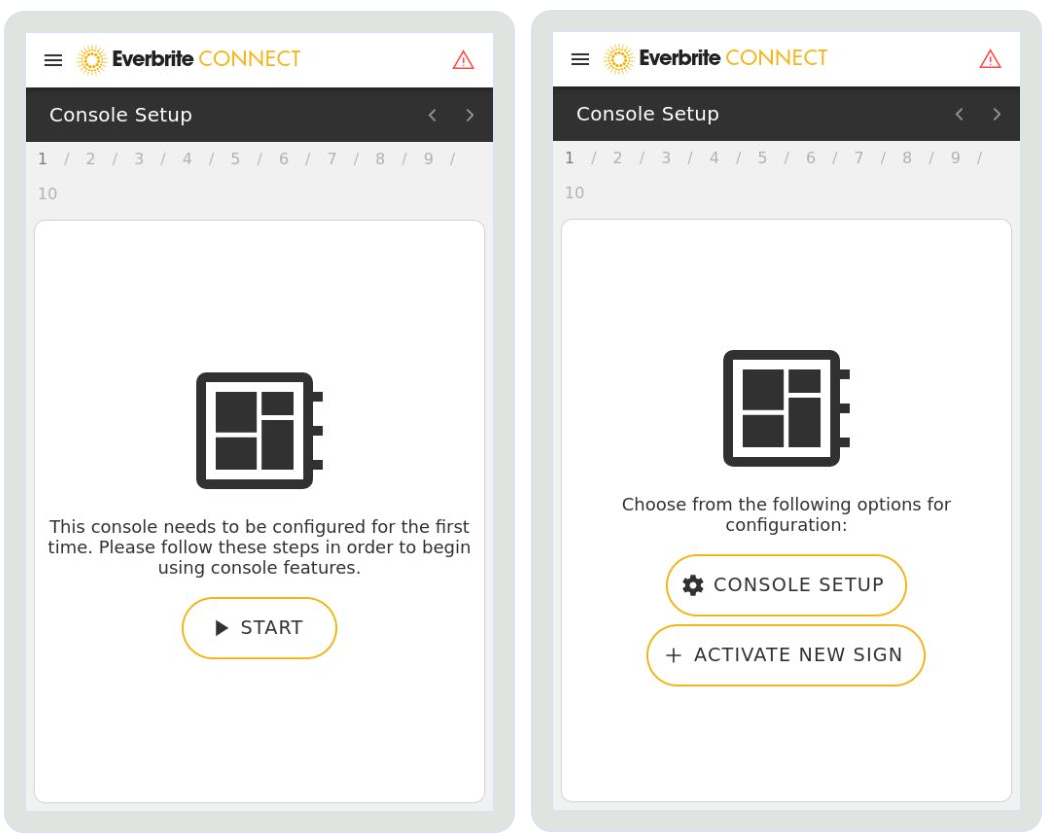
Press Console Setup to begin the Setup Wizard
Activate New Sign is used only during installation of a new sign using an existing console.
Date & Time
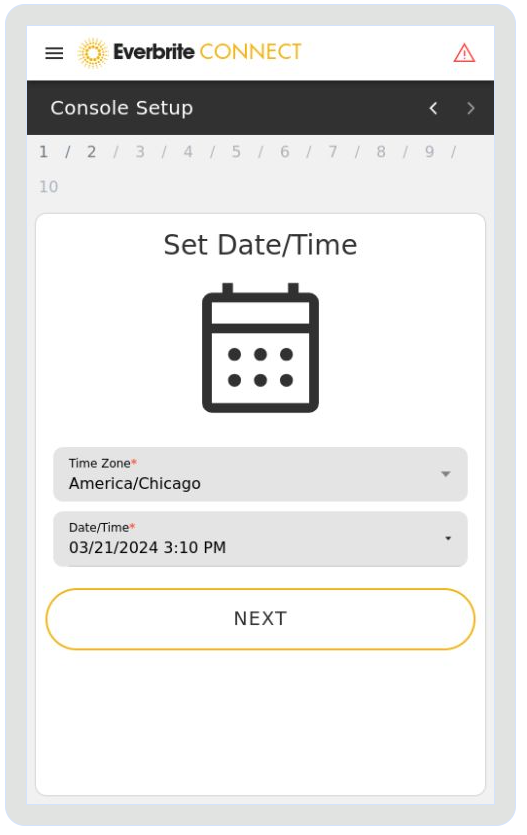
Select the correct time zone for the console. The current date and time should display here. If the date/time is incorrect, tap into the field and correct. The time will automatically adjust according to daylight savings time (if applicable)
Connectivity
It is STRONGLY recommended to operate the console via a hardwired ethernet connection.
Using an unstable wireless network may impact the ability to change configurations such as prices, and will affect remote diagnostic and alert features.
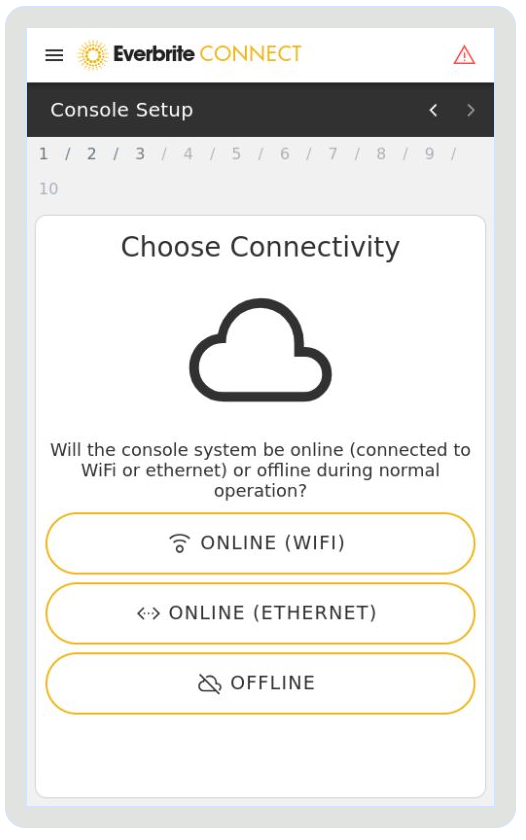
If using wireless (wifi), press Online (Wifi)
If using wired (Ethernet), press Online (Ethernet)
Offline Mode can be used in the event a console will never be connected to the internet. If being set up for the first time, an internet connection will be temporarily required for product activation purposes.
See Offline Mode section for more setup and usage instructions
Note: Some console features may not be available in offline mode.
Configure Network
Note: Options related to wireless networks will only appear if Online (Wifi) was selected at the previous screen.
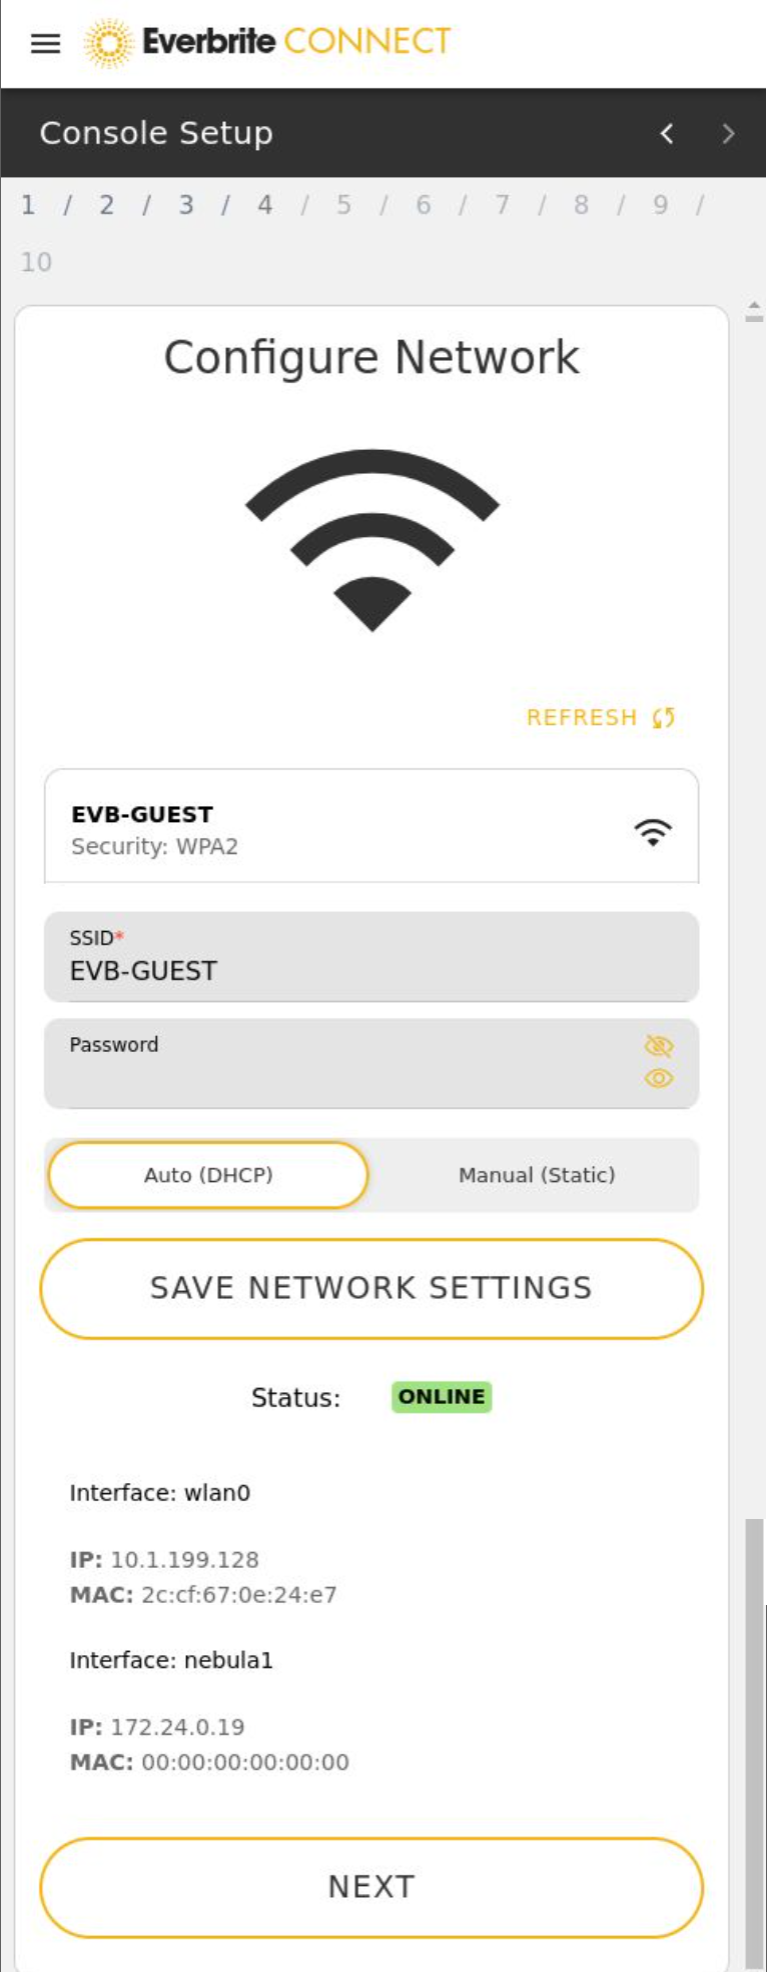
Press Refresh to re-scan nearby networks
Available wireless networks will be listed here, as well as the encryption type of the network
An SSID (Network name) and password (network key) can be entered here. The SSID will auto-populate if an SSID is selected from the list above.
The IP address mode of the network can be selected. Use Auto (DHCP) unless instructed otherwise by your network administrator.
After selecting your SSID and password, press Save Network Settings to save the configuration.
Network interface information will be displayed for diagnostic purposes.
Login Page
You will be prompted to log into an EverbriteCONNECT account
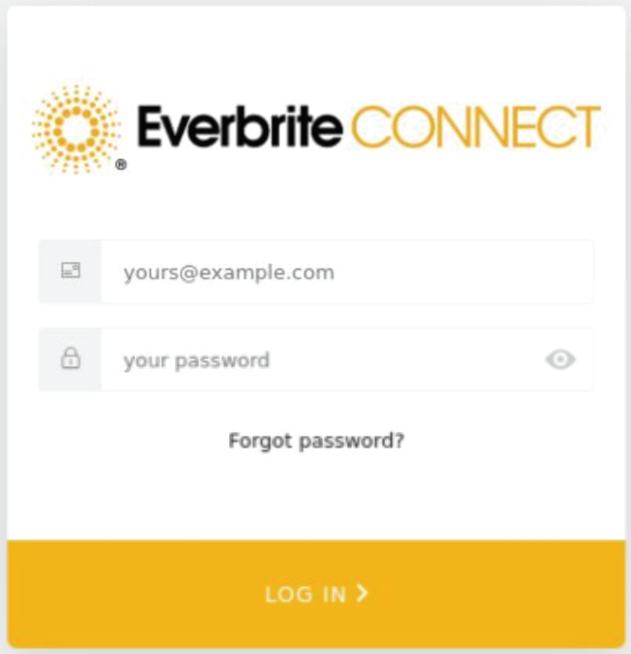
Installers should use the credentials printed on the protective film that came attached to the console during first time setup. See quick start guide for more details
End users should use the credentials created for them by their Account Administrator or Everbrite. See Common Issues for more information
Sync Sign
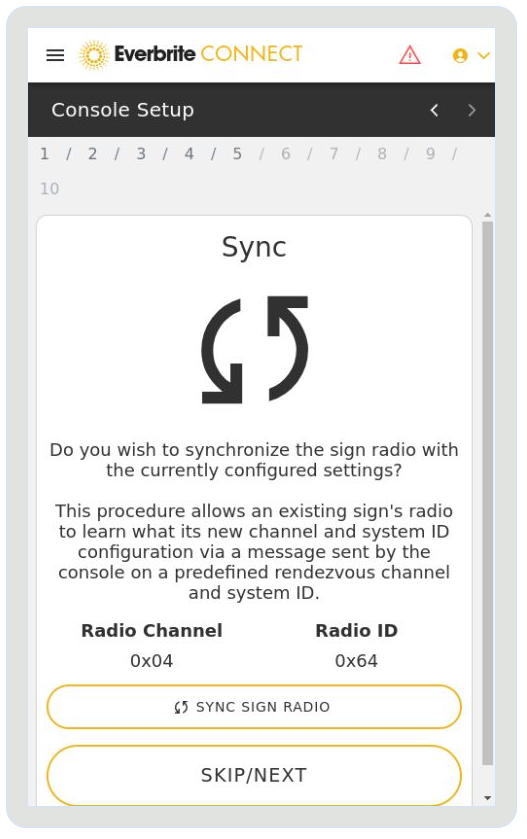
This step can typically be skipped, and should only be used by a qualified technician at the direction of Everbrite Technical Support.
The current radio channel and ID for the console and sign(s) are displayed.
Pressing Sync Radio will synchronize the channel of the sign to match the value configured on the console, if the sign has been placed in Sync Mode.
Note
Physical access to sign internals is required in order to trigger Sync Mode. This should only be performed by a qualified technician, at the direction of Everbrite Technical Support.
Unauthorized changes to radio channel/ID may prevent communication between Console & Sign(s)
Summary/System Health Checks
The console will begin automatically running through a series of health checks on the console and sign(s).
A  icon indicates the test was successful and is operating properly.
  indicates an error state that likely affects system operation.
  indicates a watch status that may need to be addressed if sign is not operating normally.
Please note that single-sided signs will show warnings for Side B Voltage value, Intensity, and Firmware rev. Please contact Everbrite Tech Support for any other warnings.

Sign Communication/Health Test
The console will place all signs in a self-test mode.
If correctly triggered, LumiDigit® signs’ digits will cycle from 0-9, and LumiText™ signs will cycle through diagnostic information.
Physically inspect both sides (if applicable) of all signs to ensure the sign has entered self-test mode, and all LEDs are illuminating.
If a sign has not entered self-test mode, return to the previous step and ensure all signs are communicating. For more assistance, contact Everbrite Technical Support.
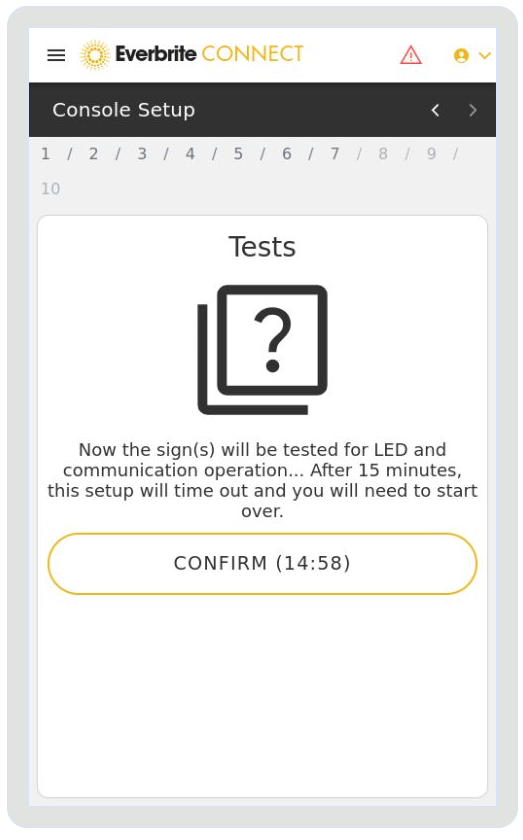
When all signs have been inspected and are operating as described above, press Confirm
If more than 15 minutes have elapsed, the sign(s) will exist self-test mode and you will need to return to the previous step and back to the Sign Communication/Health Test to re-activate the test.
Lamp Configuration
Select the type of lamp control method installed in the signs.
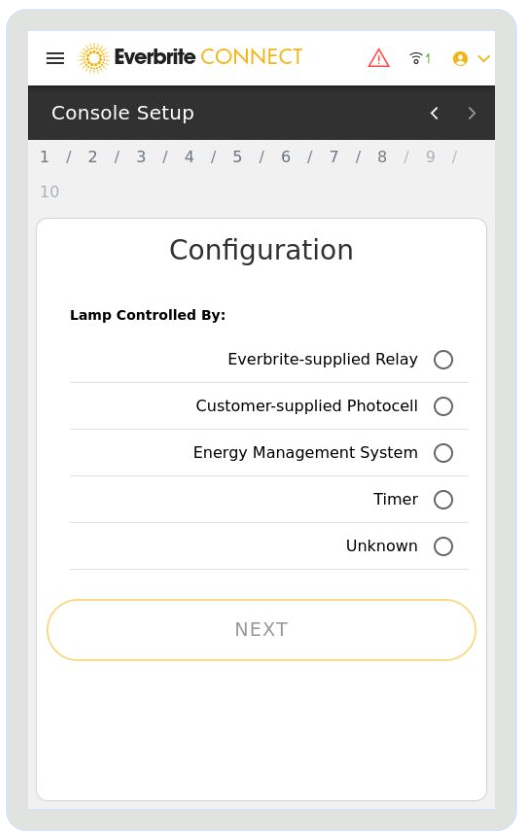
Everbrite-supplied Relay: Everbrite-supplied lamp control relay, turns on/off internal cabinet lighting via the sign controller. On/off points are adjustable; cabinet lights will turn on as the digits dim, and turn off as the digits brighten in response to the sign’s light sensors.
Customer-supplied Photocell: Internal cabinet lighting is switched on and off by an external photocell on the sign cabinet. The photocell is not installed by Everbrite. As the ambient light changes, the photocell switches the internal sign lighting on and off.
Energy Management System: Internal sign lighting circuit power is switched on/off by a centralized energy management system. This requires the LED digits circuit to have constant power, and a separate circuit supplying power for the internal sign lighting. Everbrite does not control on and off times of the internal sign lighting in this configuration.
Timer: Timer: A time-clock or other timer-based switch is used to turn on and off the internal sign cabinet lighting at specific times of day. Times which the sign internal cabinet lighting are switched on and off are not controlled by Everbrite.
Unknown: A manual switch, constant power, or other unknown method is used to control switching on and off the internal sign cabinet lighting. Times which the sign internal cabinet lighting are switched on and off are not controlled by Everbrite
Console Activation
This step is for console warranty activation.
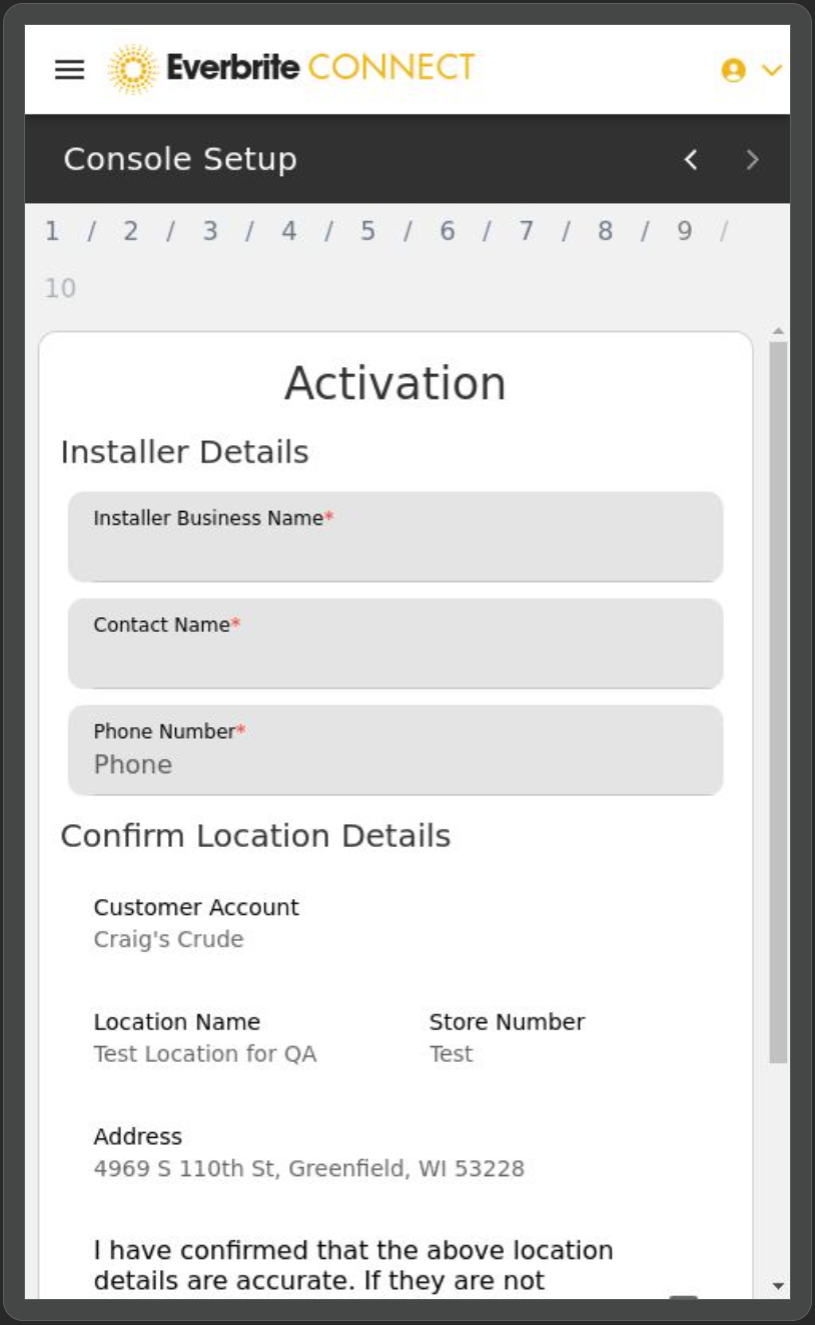
If installating the console for the first time, you will be prompted to enter in your installer business name, contact name, and phone number. See installation manual and quickstart guide for more information.
If location details are incorrect, please contact Everbrite Technical Support to correct.
Finished
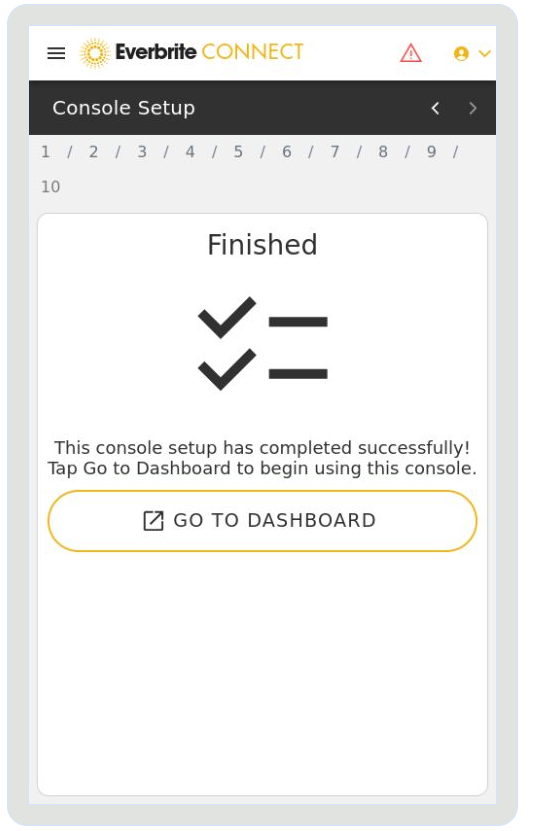
Console setup and activation is complete, press Go To Dashboard to begin using the console.